|
|
Last load up the ramp!
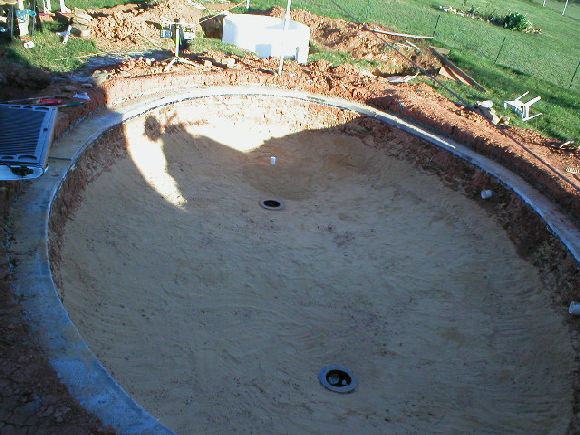
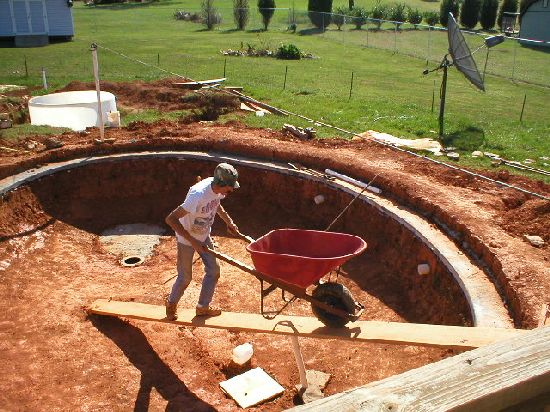
Next, removed excess from drains and drilling pit and did a final vertical cut to flush up walls of pond/ concrete
|
Then about a cubic yard of sand to form a nice bottom and to help shape the side to bottom radius I was trying to create. |
|
|
|
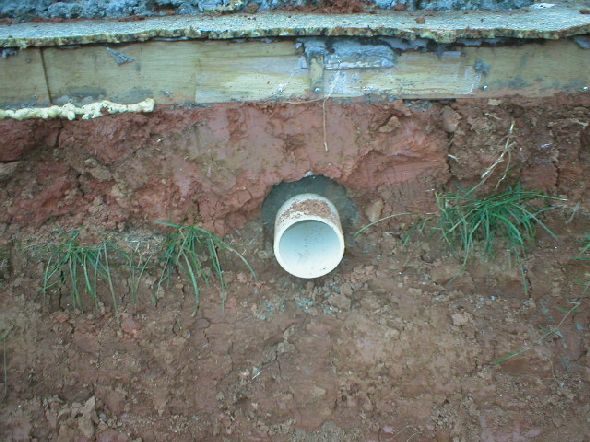
Almost forgot the skippy bypass.
This is so I can run a skippy year round without worrying about pumping my pond dry if the waterfall freezes |
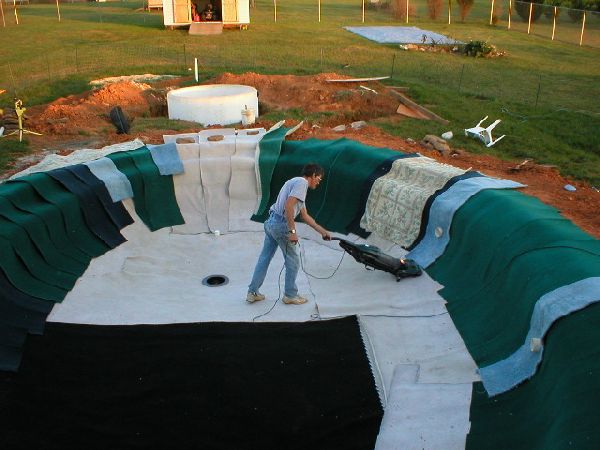
First and I hope the last time I will have to vaccum the pond. |
|
|
|
All spread out and Into the pond you go!
|
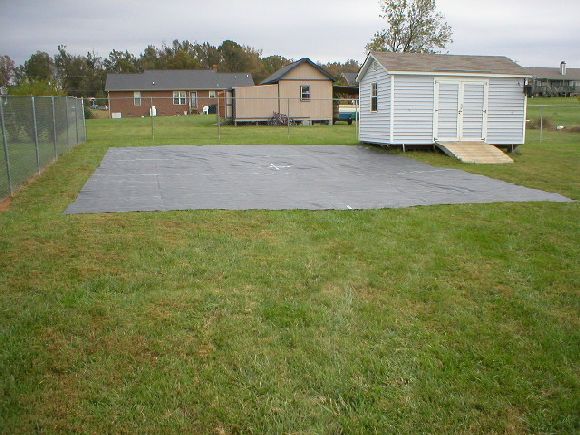
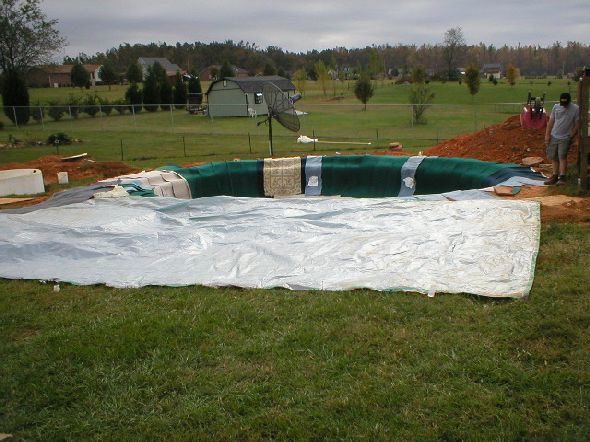
All ready for the liner here!
The tarp is seeing one last outing to protect liner from bare clay and to keep from tracking same into pond. |
|
|
|
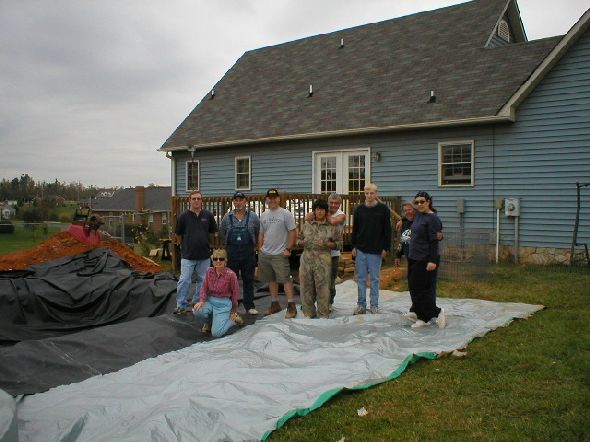
The liner crew.
|
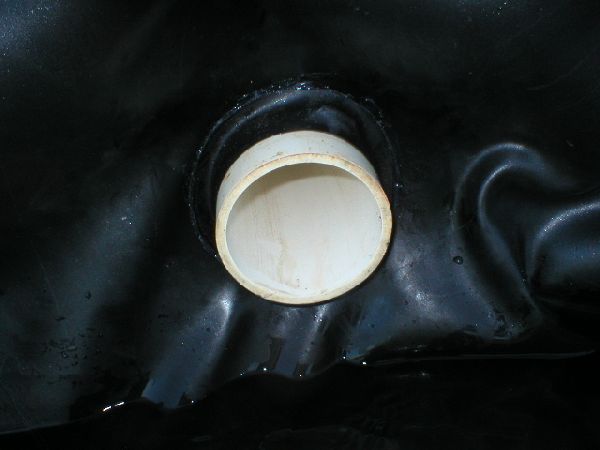
Finished skippy bypass with pipe boot. All it needs is the black abs long sweep 90 to direct the flow |
|
|
|
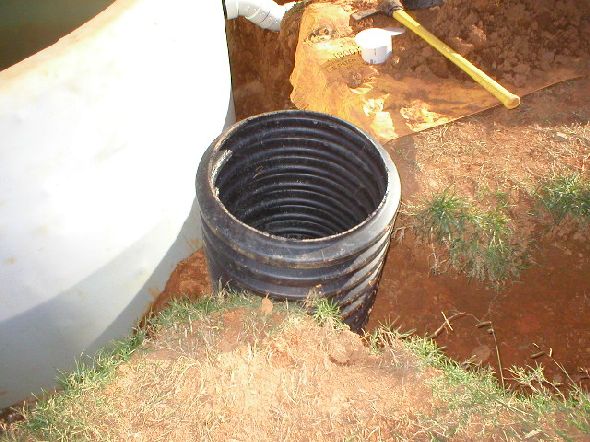
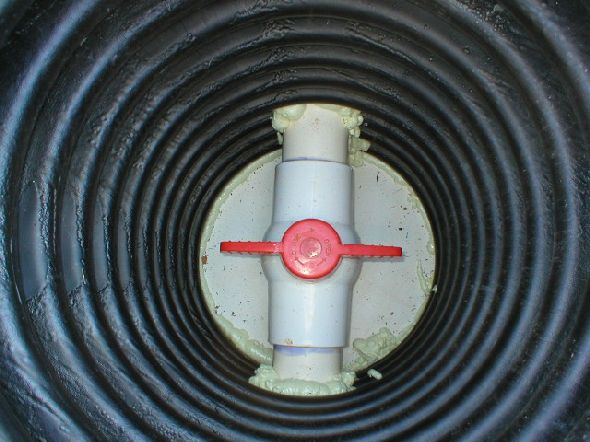
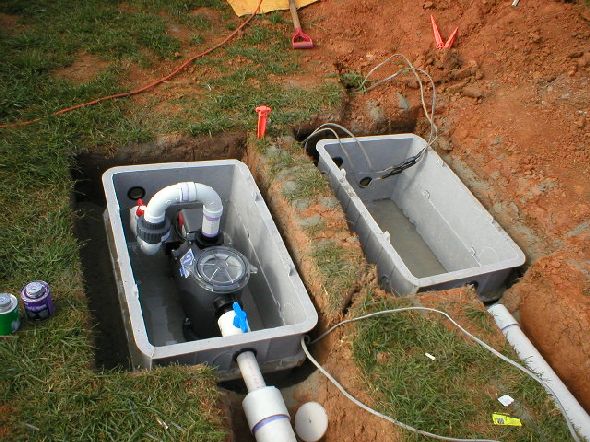
The ball valves for the drain lines into the settling tank are about 30" below ground level so I used this to form a sleeve for access. 18" wide culvert pipe. |
I did not want concrete making life difficult if I ever have to dig these up for any reason, so I closed the bottom with foamed pvc board material and great stuff foam. I hope It will be waterproof. |
|
|
|
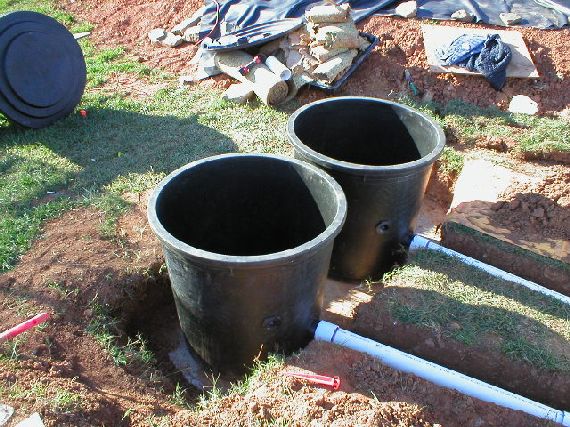
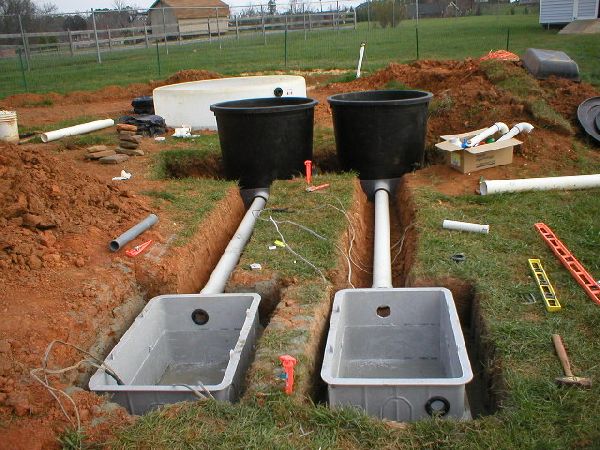
These are the 2-4" lines that exit the settling tank. They have elbows inside the tank facing up so my exit will be 14" below the water level. |
The exits feed these 155 Gal. drums that will be mech. filters of cross flow design using 2 grades of matala and brushes. You can also see the 2" bulkheads for bottom drains that I had to mount almost halfway up the sides of the filters to get to ground level. A line will run to about 1/2 from the bottom. I hope to get decent flow from these to keep maintainance as low as possible. This is the aformentioned 11" thick concrete pad they are sitting on. |
|
|
|
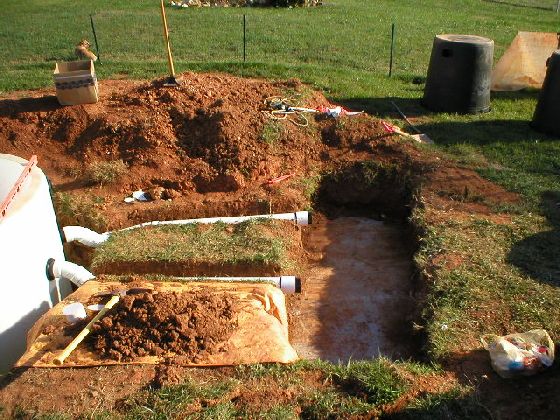
From the drum filters 4" line continues to about 12 " from the pumps which will go in these boxes. All conections to the boxes will be done with uniseals to keep everything watertight. The boxes have plexiglas bottoms sealed with silicone and stainless steel screws, setting on dry mixed mortar in order to get the best vertical fit so my uniseals will fit nicely and to beef up the plexiglas once ground moisture sets the mortar. |
This is the test fit of the first pump, a Sequence 6000 PRM (1 of 3 for the system). The electrical cable is unearthed lines running from my house to my shed that had to be spliced. They will not be part of the pond system, each pump will have its own circuit. Knew I would have to do this and it worked out very nicely. |
|