|
You have seen the start and the latest, Here's the twisted path between
From the Weekend After Labor Day to the End of October
|
|
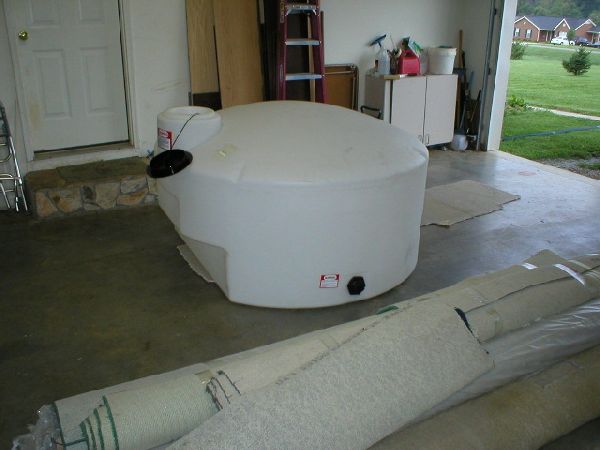
Welcome home skippy!
|
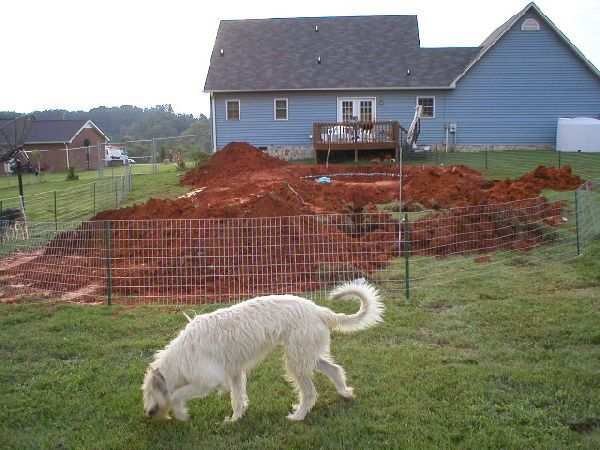
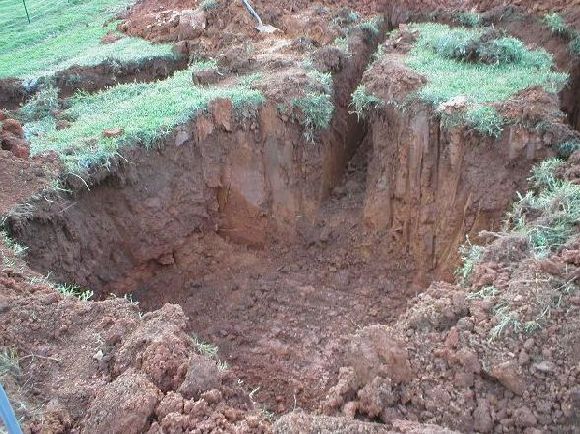
End of the first day and a Boo Beast
|
|
|
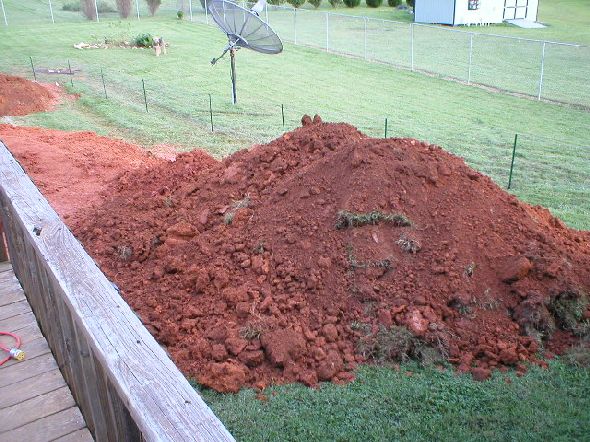
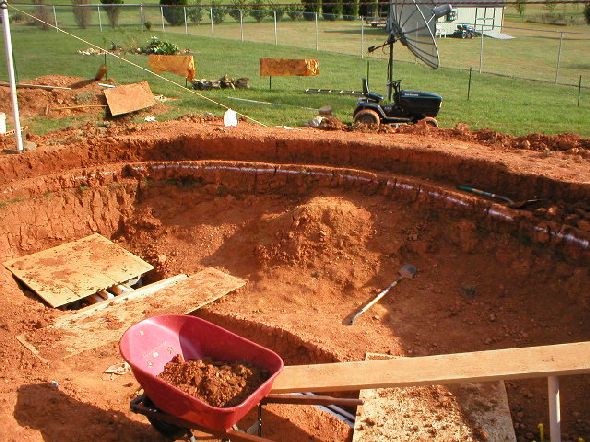
Mount Skippy with the denver bronco earth station in the backround
|
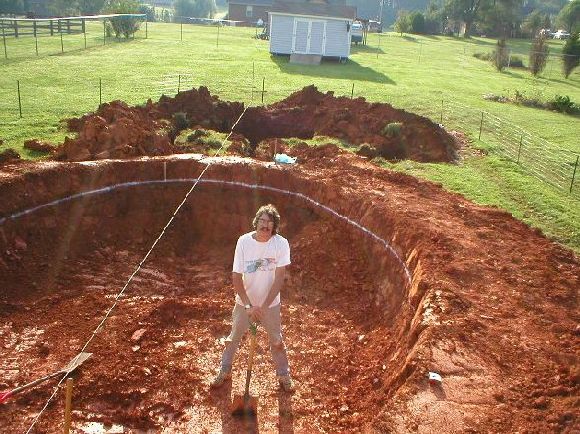
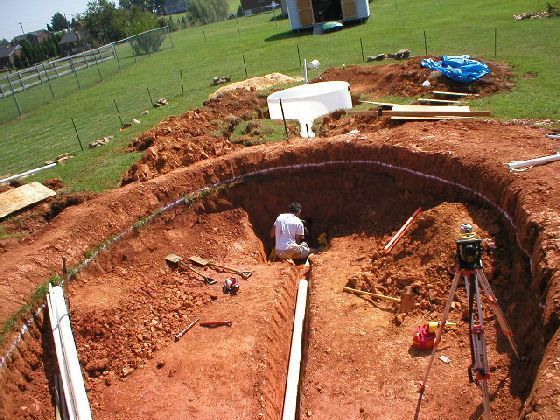
Hand shoveling the bottom with rope for tarping off pond across the pic to my right.
|
|
|
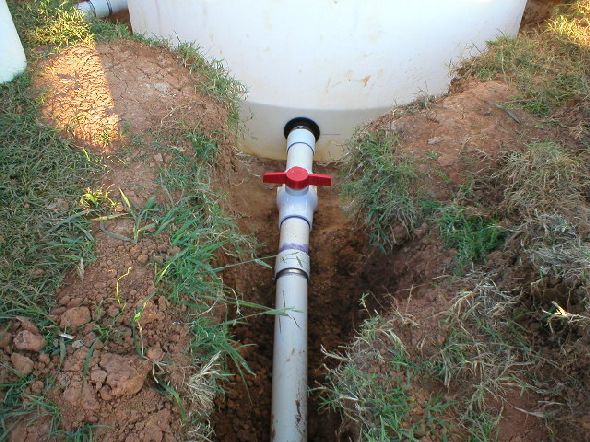
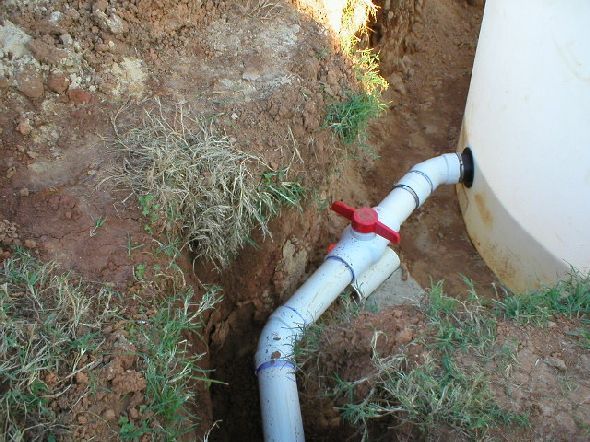
Settling tank hole beyond pond 9x10x6 ft.
|
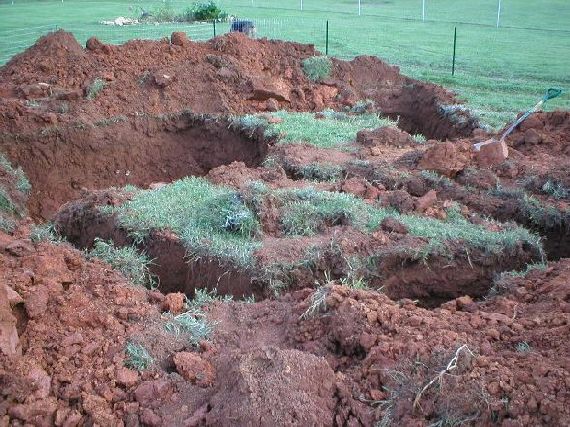
Bottom drain trenches from pond to settling tank pit 52" deep
|
|
|
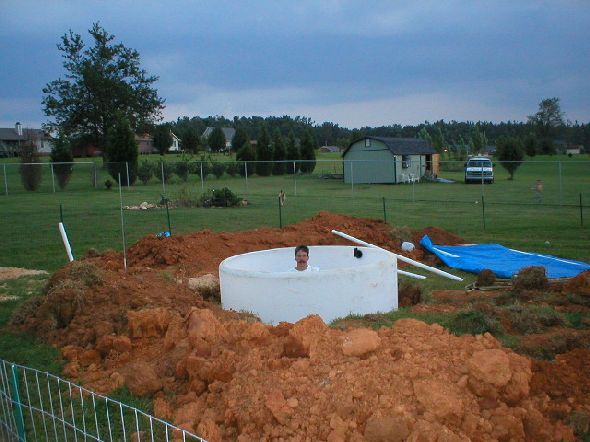
Ken standing in settling tank
|
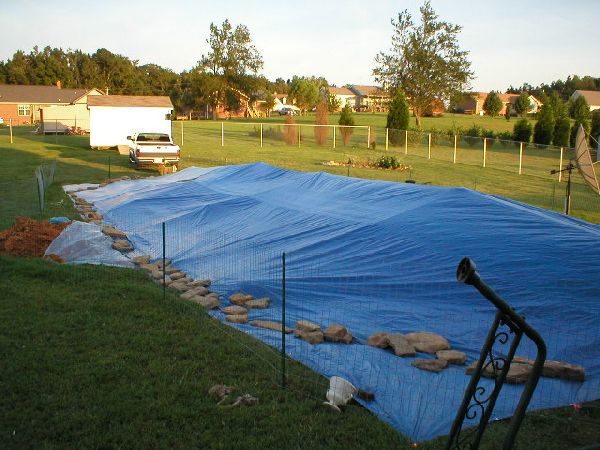
Waiting for hurricane Isabel with 3800 lb. of rock on tarp meas. 30'x65'
|
|
|
Horiz. boring with a gas auger for bottom drains
|
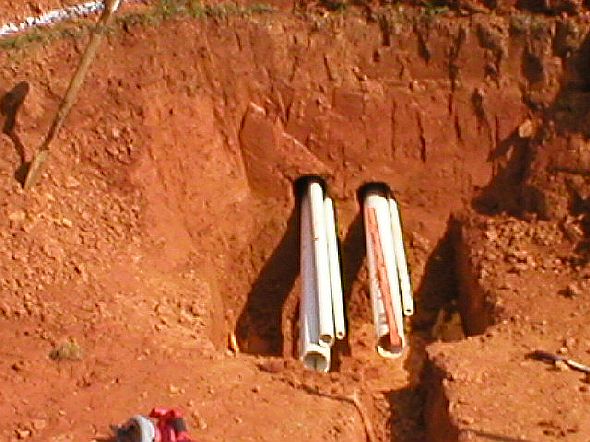
pretty neat eh? 2 -4" lines, 2 -1" lines, and a 2" line. Each bore was just over 5' long to get to trenches
|
|
|
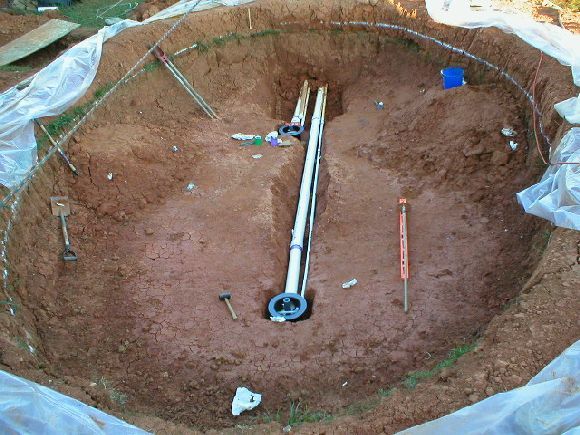
Drains with air diffusers roughed in. 2" line is for a TT
|
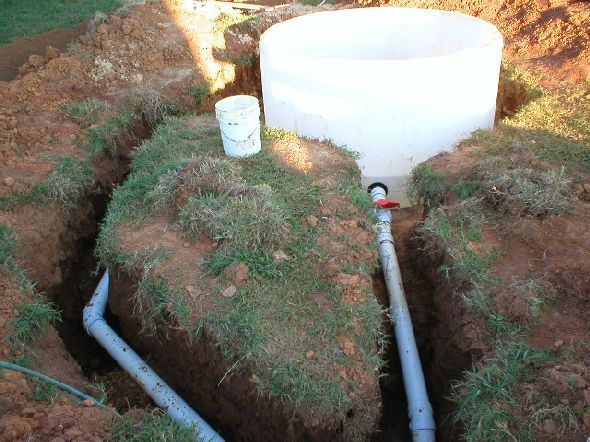
The rest of the drain lines to the tank
|
|
|
Farthest drain from tank was plumbed straight line
|
The drain nearer the tank has a dogleg to make the head come out even
|
|
|
next is cutting the edge for the concrete. It will support a submerged rock edge
|
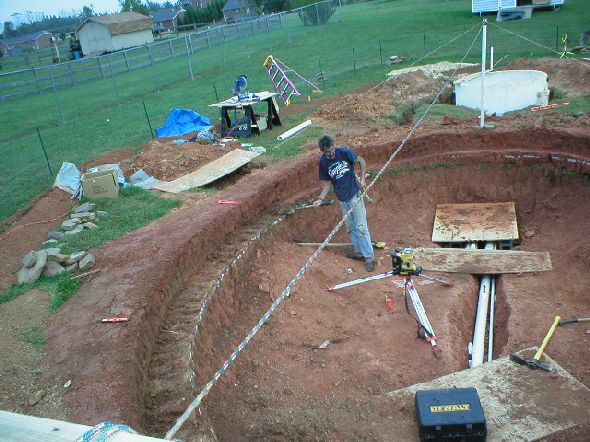
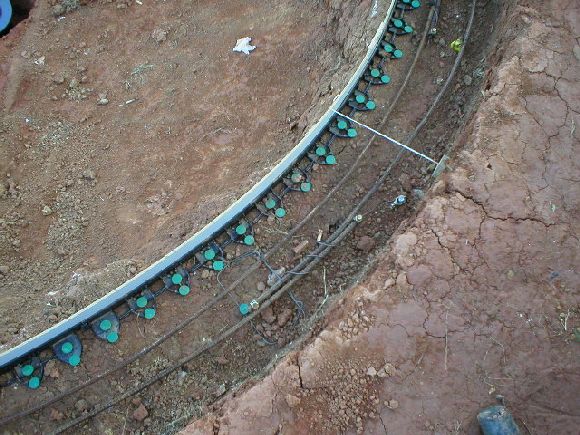
Lazer cut to get edge level and at right hight for planned water level I HOPE!
|
|
|
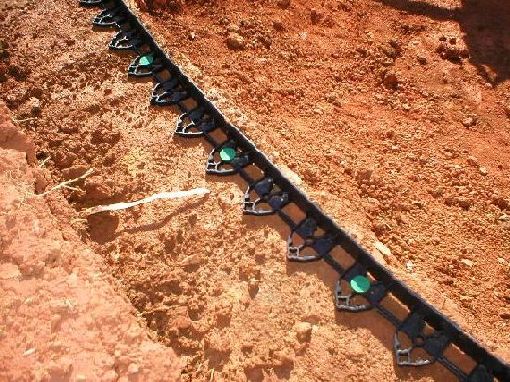
First stage of concrete forms, flexible plastic landscape edge held with 5" plastic stakes
|
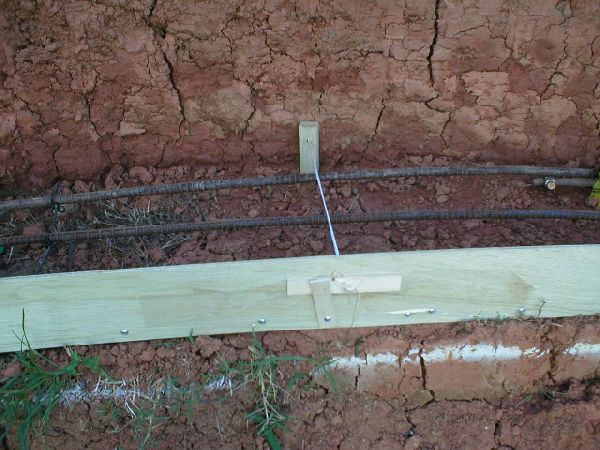
This shows the 2 strands of rebar w/ grounding per code, 4" high plywood screwed to landscape edgeing and my cross ties of masons twine to stakes on outer edge
|
|
|
A better view of plywood and stakes
|
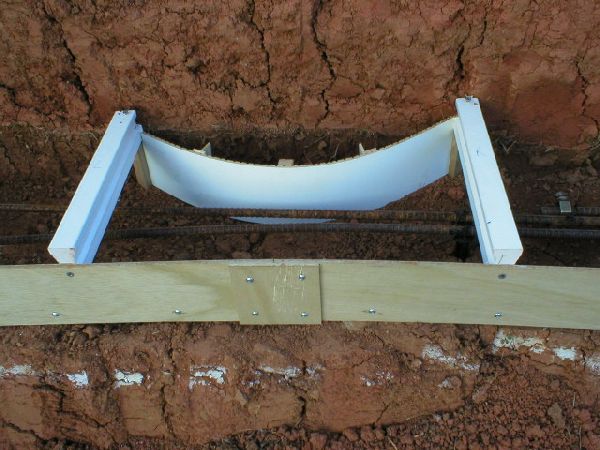
This the notch for the savio skimmer, concrete 3" thick here. I feel this will be ok though because of the rebar and I am using fiber reinforced concrete
|
|
